Hanger Machine Troubleshooting Guide: Solutions for 12 Common Problems
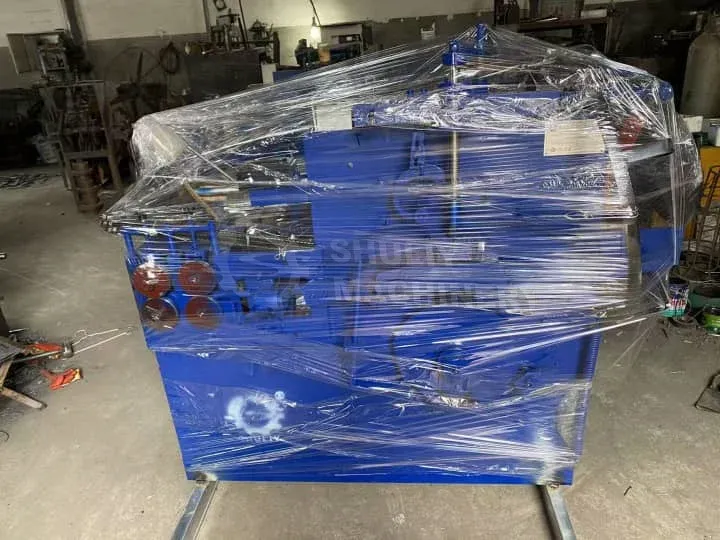
When your wire hanger making machine stops performing at optimal capacity, every minute of downtime costs you money. Based on our 15 years of field experience supporting hanger machine operators across Saudi Arabia, UAE, Pakistan, and Indonesia, we’ve compiled this comprehensive troubleshooting guide covering the 12 most frequent issues our customers encounter.
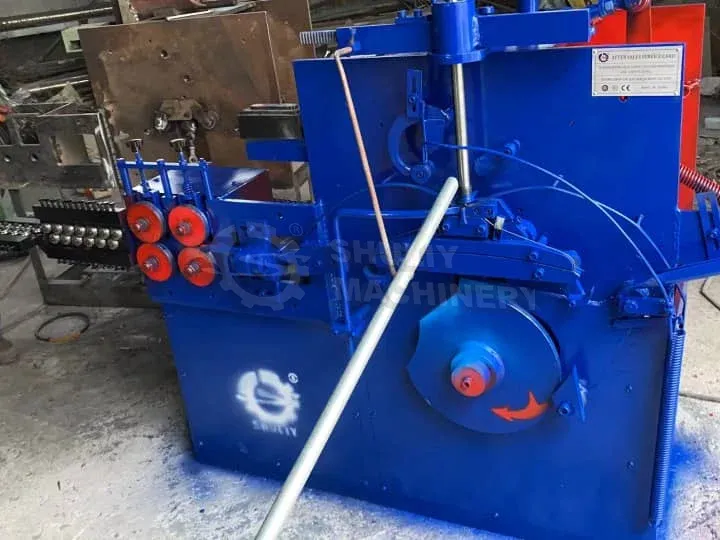
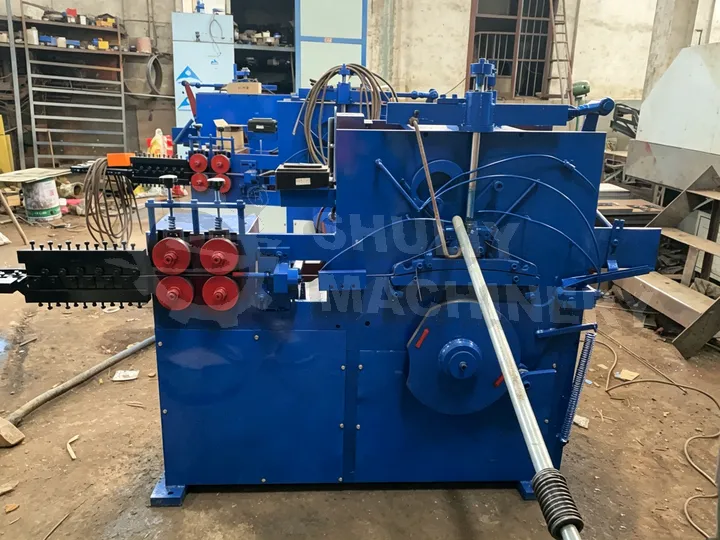
This guide applies to all Shuliy hanger machine models including SLPT-400 wire hanger making machines, PVC-coated hanger machines, welding-type hanger formers, and complete hanger production lines. Each section provides diagnostic steps, root cause analysis, and actionable solutions you can implement immediately.
Understanding Your Hanger Machine’s Core Systems
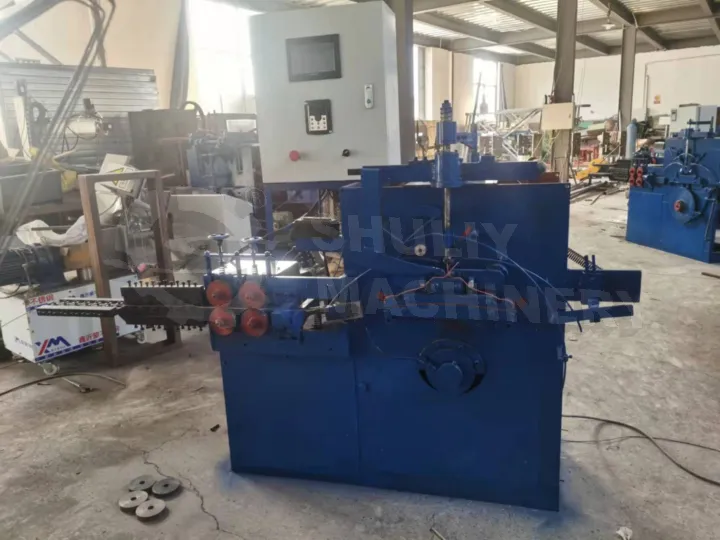
Before diving into specific problems, it’s essential to understand the four core subsystems that work together in any hanger making machine:
- Wire Feeding System: Payoff spool, wire straightener, tension control, and guide rollers
- Forming System: Main forming die, hook bending mechanism, and size adjustment cams
- Cutting System: Flying cut-off knife, shear blade, and scrap cutting mechanism
- Control System: PLC controller, proximity sensors, and emergency stop circuits
Most problems can be traced to one of these four systems. Systematic diagnosis starting from wire input to finished output will help you identify the source quickly.
Part 1: Wire Feeding Problems
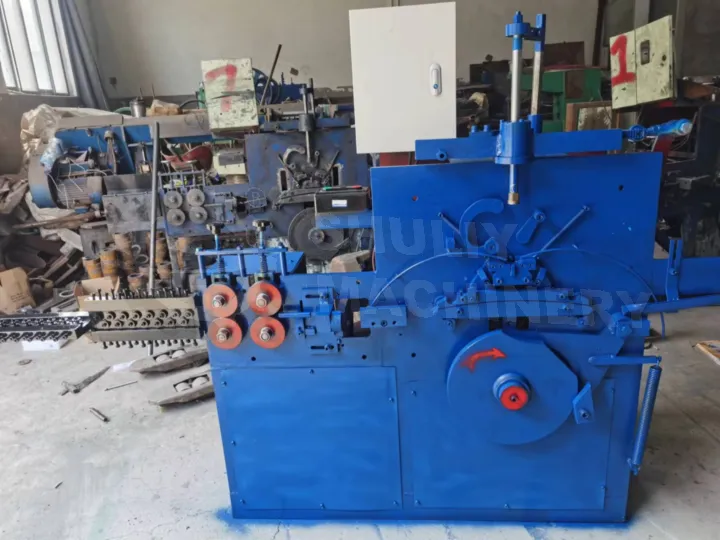
Wire feeding issues account for approximately 35% of all hanger machine downtime according to our service records. These problems are often misunderstood because symptoms appear elsewhere in the production process.
Problem 1: Wire Skipping or Jumping During Feeding
Symptoms: Irregular wire advancement causing inconsistent hanger length, tangled wire on payoff spool, or complete feed stoppage.
Root Causes and Solutions:
| Cause | Diagnosis Method | Solution |
|---|---|---|
| Worn straightener roller bearings | Rotate roller by hand; grinding feel indicates wear | Replace bearing sets (UCF205 or equivalent) |
| Incorrect wire tension | Check tension meter reading; normal range 15-25kg | Adjust spring tension using the tension knob |
| Bent wire guide plates | Visual inspection; visible curvature or wear marks | Replace or straighten guide plates |
| Incompatible wire diameter | Measure wire with caliper; verify 1.8-2.8mm range | Use wire within specified tolerance |
Problem 2: Wire Breakage During Production
Symptoms: Production line stops, frequent material waste, snapping sounds during operation.
Wire breakage is rarely a machine fault—it almost always points to material quality or configuration issues. Our Indonesian clients in humid climates face this problem more frequently due to wire corrosion.
Step-by-Step Diagnosis:
- Step 1: Check wire zinc coating integrity. Look for rust spots, white powder deposits, or uneven coating. Damaged galvanized coating accelerates breakage during bending.
- Step 2: Measure actual wire diameter at three points along the coil. Diameter variation exceeding 0.1mm will cause stress points.
- Step 3: Inspect the wire straightener. The five-roller straightener configuration (3 top, 2 bottom) must have rollers aligned perpendicular to wire direction.
- Step 4: Verify wire is stored properly. Exposure to moisture or direct sunlight degrades galvanized wire within 30 days.
Pro Tip from Our Field Engineers: In Saudi Arabia’s high-temperature environment (often exceeding 45°C), we recommend storing wire in climate-controlled areas. Thermal expansion causes an 8-12% increase in wire brittleness when stored above 50°C for extended periods.
Problem 3: Wire Not Feeding at All
Symptoms: Motor running but no wire advancement, wire bunching at entry point.
- Check if emergency stop button is engaged
- Verify payoff spool brake is not locked
- Inspect gear box oil level (low oil causes gear slippage)
- Test proximity sensor on wire entry (dirty or misaligned sensor prevents motor activation)
Part 2: Hanger Forming Issues
The forming system transforms straight wire into the familiar hanger shape. Problems here directly impact product quality and are most visible to your customers.
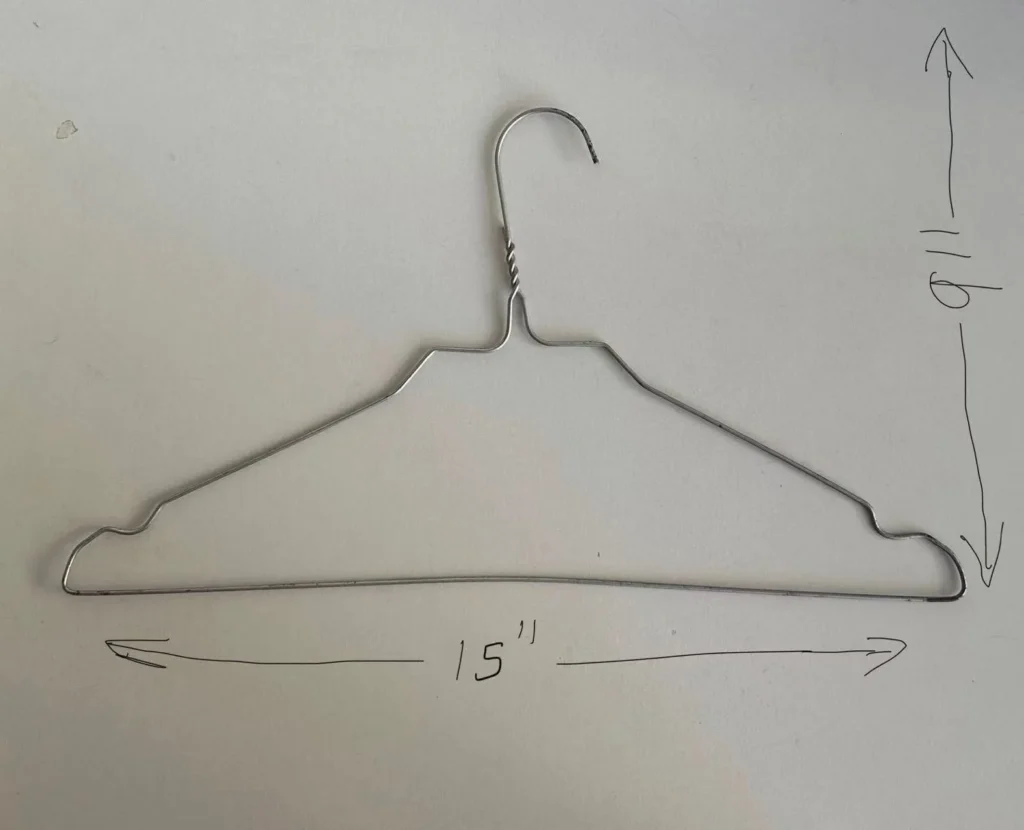
Problem 4: Hook Shape Deformation
Symptoms: Hooks bent, twisted, or not matching specified curvature (radius 25-35mm for standard hangers).
Common Causes:
Mechanical Causes
- Worn hook bending cam followers
- Loose main shaft key (causes 0.5-2mm hook offset)
- Spring fatigue in hook return mechanism
Material Causes
- Wire hardness exceeds 380 HV
- Inconsistent wire diameter
- Spring-back variation in wire batch
Adjustment Procedure: For wire hardness issues, Shuliy’s SLPT-400 machines include a spring-back compensation dial. Increase the dial setting by 2-3 increments for harder wire batches. Contact our technical team for dial calibration if unsure.
Problem 5: Hanger Body Twisting
Symptoms: Finished hangers have spiral distortion when viewed from end; hangers don’t lay flat.
This issue is particularly common in new machine installations or after major maintenance. Our Pakistani clients with longer production runs experience this less frequently due to consistent operating practices.
Root Cause Analysis:
- Primary cause: Asymmetric tension between top and bottom straightener rollers
- Secondary cause: Forming die not centered on wire axis
- Rare cause: Motor coupling misalignment (check coupling elastomer for wear)
Fix Sequence: First, center the forming die using the dedicated centering gauge (included with your machine). Second, balance straightener roller pressure using the left-right adjustment screws. Third, verify motor alignment using a straightedge across coupling faces.
Problem 6: Incorrect Hanger Size
Symptoms: Finished hangers measure outside specified range (standard: 13-14cm children, 15-19cm adults).
| Hanger Size Problem | Adjustment Location | Turn Direction |
|---|---|---|
| Hanger too wide | Width cam (left side) | Counter-clockwise |
| Hanger too narrow | Width cam (left side) | Clockwise |
| Hanger too long | Length dial (right side) | Counter-clockwise |
| Hanger too short | Length dial (right side) | Clockwise |
Important: After size adjustment, produce 20-30 test hangers and measure at least 5 samples. Hanger machines require a “settling period” of approximately 100 pieces after any adjustment for stable production.
Part 3: Electrical and Control System Issues
Modern hanger machines rely heavily on PLC controls and sensor networks. Understanding these systems helps you resolve issues without waiting for technician visits.
Problem 7: Machine Won’t Start
Systematic Checklist:
- Power supply: Verify 380V/3-phase input (or configured voltage). Check circuit breaker status.
- Emergency stop: Rotate emergency button clockwise to release. Confirm green indicator visible.
- Door interlock: All safety doors must be fully closed. Micro-switches deactivate when doors open.
- PLC status light: Solid green = running. Flashing red = program error. Off = no power to PLC.
- Inverter display: Shows fault code if motor drive has an error. Common codes: OC1 (overcurrent), OV (overvoltage), OH (overheating).
Problem 8: Intermittent Stoppages
Symptoms: Machine stops randomly during production, sometimes 2-3 times per hour, then resumes normally.
This frustrating issue almost always points to either sensor problems or electrical connections. Heat-related expansion causes loose connections to momentarily disconnect—a particular challenge in hot climates like Saudi Arabia and the UAE.
Diagnostic Steps:
- Step 1: Check all terminal block screws. Thermal cycling loosens connections over time. Tighten all power and signal terminals.
- Step 2: Test proximity sensors. Trigger each sensor manually and verify LED indicator lights. Replace sensors with dim or flickering LEDs.
- Step 3: Inspect cable trays. Vibration causes cables to rub against sharp edges, eventually causing insulation damage.
- Step 4: Monitor ambient temperature near control cabinet. If exceeding 45°C, install cabinet cooling fan.
Problem 9: Touch Screen HMI Not Responding
Quick Fix Sequence:
- Clean screen surface with soft cloth (dust and oil affect touch sensitivity)
- Calibrate touch points via Settings > Touch Calibration menu
- Power cycle the HMI (turn off, wait 30 seconds, turn on)
- If display shows “Communication Timeout,” check RS-485 cable connection between HMI and PLC
Part 4: Coating and Surface Finish Problems (PVC Coated Hangers)
For PVC-coated hanger machines and coated hanger production lines, coating defects are unique challenges that don’t occur in wire-only machines.
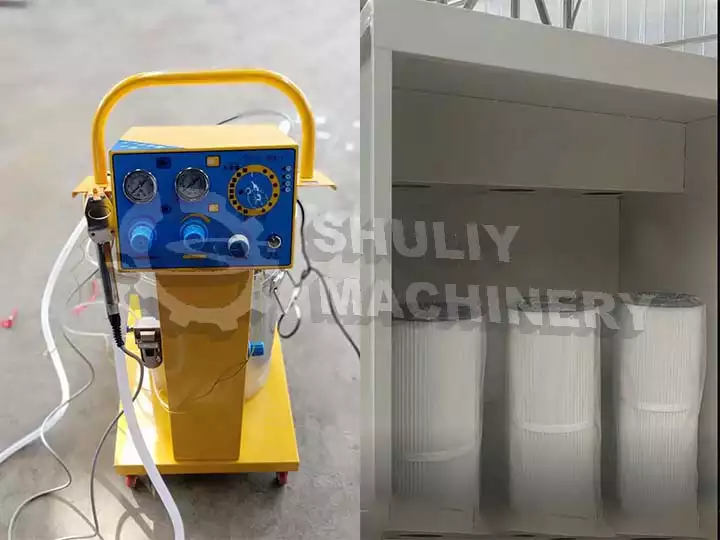
Problem 10: PVC Coating Bubbling or Peeling
Symptoms: Air bubbles visible under coating, coating separates from wire surface, peeling at hook or bend points.
Root Causes and Solutions:
| Cause | Verification | Solution |
|---|---|---|
| Moisture in wire | Store spare wire for 24h in dry area; compare results | Install wire pre-heater (80°C for 2 hours before use) |
| Contaminated wire surface | Wipe wire with white cloth; check for black residue | Install wire cleaning station before extruder |
| Extruder temperature too low | Check extruder zone temperatures (normal: 180-220°C) | Increase temperature in 5°C increments |
| Extruder temperature too high | Visible scorching (brown discoloration) | Reduce temperature in 5°C increments |
Problem 11: Uneven Coating Thickness
Symptoms: Some hangers have visible wire, others have excessive coating buildup; weight variation exceeds 10%.
- Die gap alignment: The coating die must be concentric with wire path. Use the die centering tool to adjust.
- Extruder RPM consistency: Fluctuating RPM causes pulsing coating. Check gear box oil and motor coupling condition.
- Wire speed variation: Synchronize wire feed speed with extruder output. Most issues occur when these are mismatched.
Problem 12: Coating Color Variation
Symptoms: Finished hangers show different shades of coating color, even when using the same raw material batch.
Color variation is primarily a temperature issue. The cooling water tank temperature must remain consistent between 15-25°C. Variations cause the PVC pigment to settle differently during cooling.
- Verify cooling pump is circulating water properly
- Check water temperature at inlet and outlet (should not differ by more than 3°C)
- Clean cooling water tank; algae buildup affects heat exchange
- Ensure color masterbatch is mixed thoroughly (minimum 20 minutes before production)
Preventive Maintenance Schedule
Preventive maintenance costs approximately 15% of reactive repair costs and prevents 80% of major failures. Follow this maintenance schedule to maximize machine uptime.
| Interval | Tasks | Estimated Time |
|---|---|---|
| Daily | Lubricate cam followers, check wire tension, verify safety interlocks, clean work area | 15-20 minutes |
| Weekly | Inspect blade sharpness, check belt tension, clean sensors, verify grounding connections | 45-60 minutes |
| Monthly | Replace lubrication oil, check gear box oil condition, inspect electrical terminals, calibrate size gauges | 2-3 hours |
| Every 6 months | Replace wearing parts (bearings, rollers, cams), inspect motor condition, check PLC program backup | 4-6 hours |
| Annually | Full machine inspection by qualified technician, electrical system testing, gearbox overhaul | 1-2 days |
Shuliy Maintenance Support: All Shuliy machines include a recommended spare parts kit with the initial purchase. Contact our after-sales team to order replacement parts kits for your specific model. We ship internationally within 5-7 business days to most destinations.
When to Call Technical Support
Contact Shuliy’s technical support team immediately if you experience:
- Any fault code not covered in this guide
- Abnormal vibration (may indicate serious mechanical misalignment)
- Burning smell from motor or electrical cabinet
- Hydraulic system pressure fluctuations (coated hanger lines)
- PLC program corruption or unexplained parameter changes
Before contacting support, please have your machine model number, motor hours logged, and any fault codes displayed ready. This information helps our engineers provide faster, more accurate guidance.
Contact Methods:
- WhatsApp: +86 136 7368 9272 (24/7 for urgent issues)
- Email: info@hangermachines.com (response within 24 hours)
- Video call: Schedule via email for remote diagnostics